

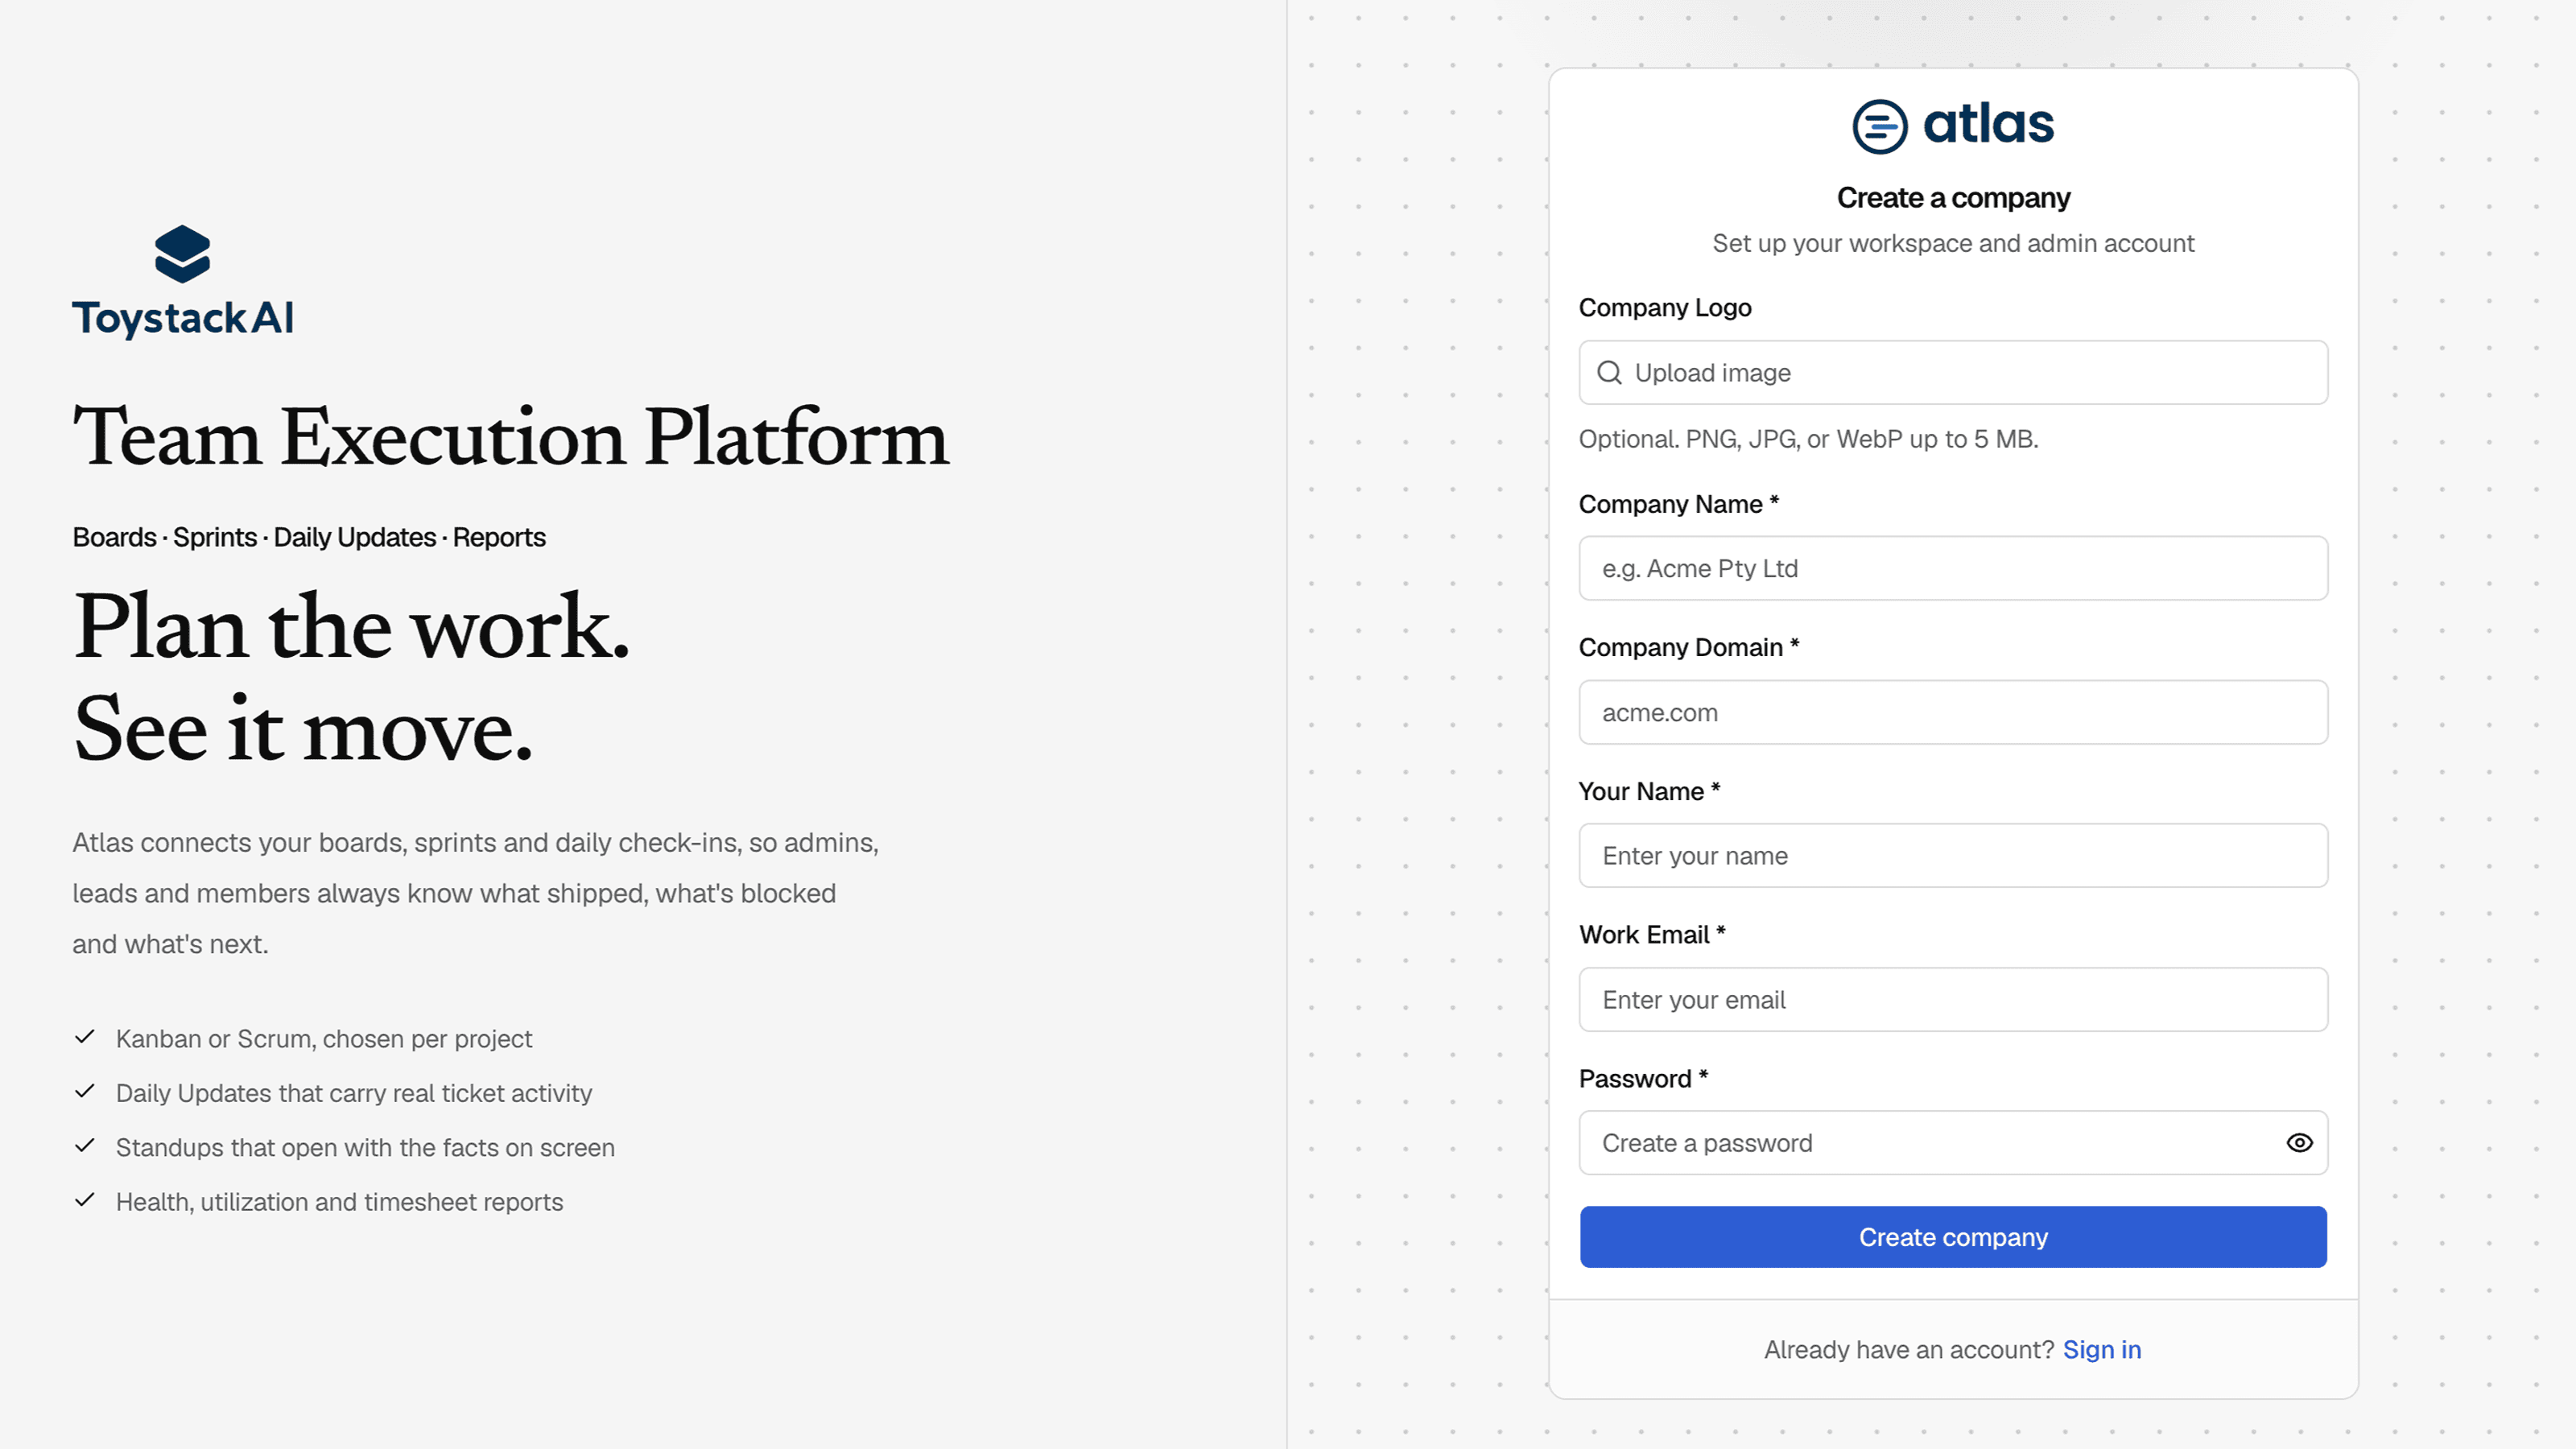
Creating a company sets up a new Atlas workspace (an organization) and signs you in as its first Admin.
Create the workspace
- 1
Open Create a company
Select Get Started on the Atlas home page, or Create a company on the sign-in page.
- 2
Fill in the form
See the field reference below.
- 3
Select Create company
Atlas creates the organization, makes you its Admin and opens your Dashboard.
| Field | Required | Details |
|---|---|---|
| Company Logo | Optional | PNG or JPG. You can add or change it later in Organization settings. |
| Company Name | Required | Shown across the app and in emails. |
| Company Domain | Required | Your email domain, e.g. acme.com. It can't be changed later. |
| Your Name | Required | Your display name. |
| Work Email | Required | Should use the company domain, e.g. you@acme.com. |
| Password | Required | Password rules |
What to do next
- Review Organization settings: logo and default timezone.
- Invite your team and choose each person's role.
- Create your first project; it comes with its first board.
- Set reporting lines so the Org Chart fills in.